Select the Items Statically button to add the static item source.

Selecting this button starts the Add Static Item Source Wizard. Below is the description of its steps and options.
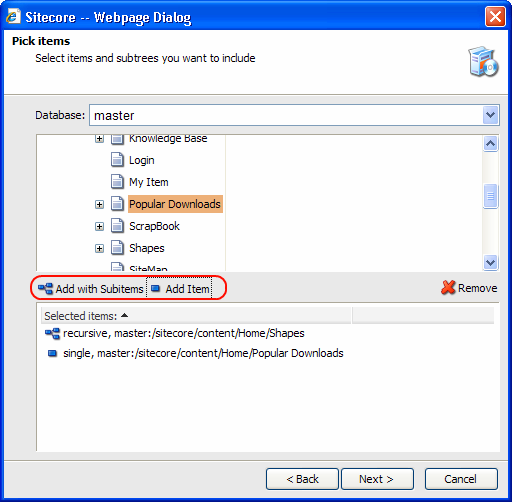
Step 1. Pick the items you want to include in the source.

You can select items with two buttons:
- Add with Subitems – useto add items with all subitems.
- Add item – use to add a single item.
Use the Database drop-down menu to switch between databases.
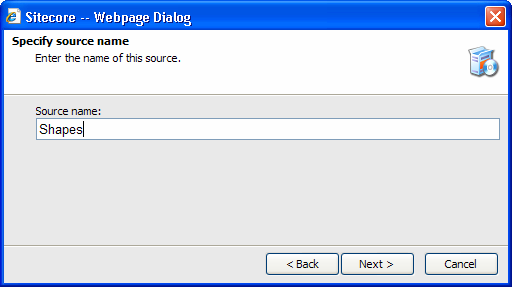
Step 2. Specify the source name.

Step 3. Review the final page and click Finish.

The new static source will be added:

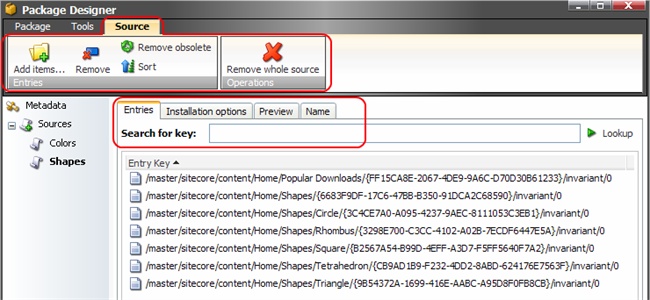
Select the newly created source and special tabs for working with this source will appear on the right. You will also see the additional options in the Source tab:

|
|
Select to add new items to the source. |
|
|
Select to remove the currently selected items from the source. |
|
|
Select to remove the entries which no longer exist in the current installation. |
|
|
Select to re-sort the entries in the list. |
Remove whole source button removes the source.
The tabs on the right are described in detail in the following sections.
1. Editing the Static Item Source
Sources are edited via the tabs on the right, which appear when a source is selected. In case of static source the tabs look as in the image below:

Entries tab shows the list of items included in the source. The Name tab allows to rename the source.
Follow the links below to read about the Installation Options and Preview tabs: